
How to Design Your Own Lush Garden Centerpiece

Last week, I shared with you 5 fail-proof ingredients that give any bouquet or arrangement dimension, stability, and beauty.
If you haven’t given that one a quick glance, I suggest you do! Otherwise this may confuse you.
This week, I’m giving you a step-by-step photo-tutorial of how you can design your own lush garden centerpiece!
Because sometimes occasions warrant it!
A few tips to start out:
Work in an uneven triangle. Three main points in an arrangement creates balance without being too symmetrical.
Work in groups of 3. Three focal flowers, three filler flowers, three disc flowers, etc. Then continue to build off of that.
By the end, your arrangement should be twice as tall as your vessel, and three times as wide.
Don’t worry about being perfect. I prefer a lush, overflowing arrangement rather than a tight one.
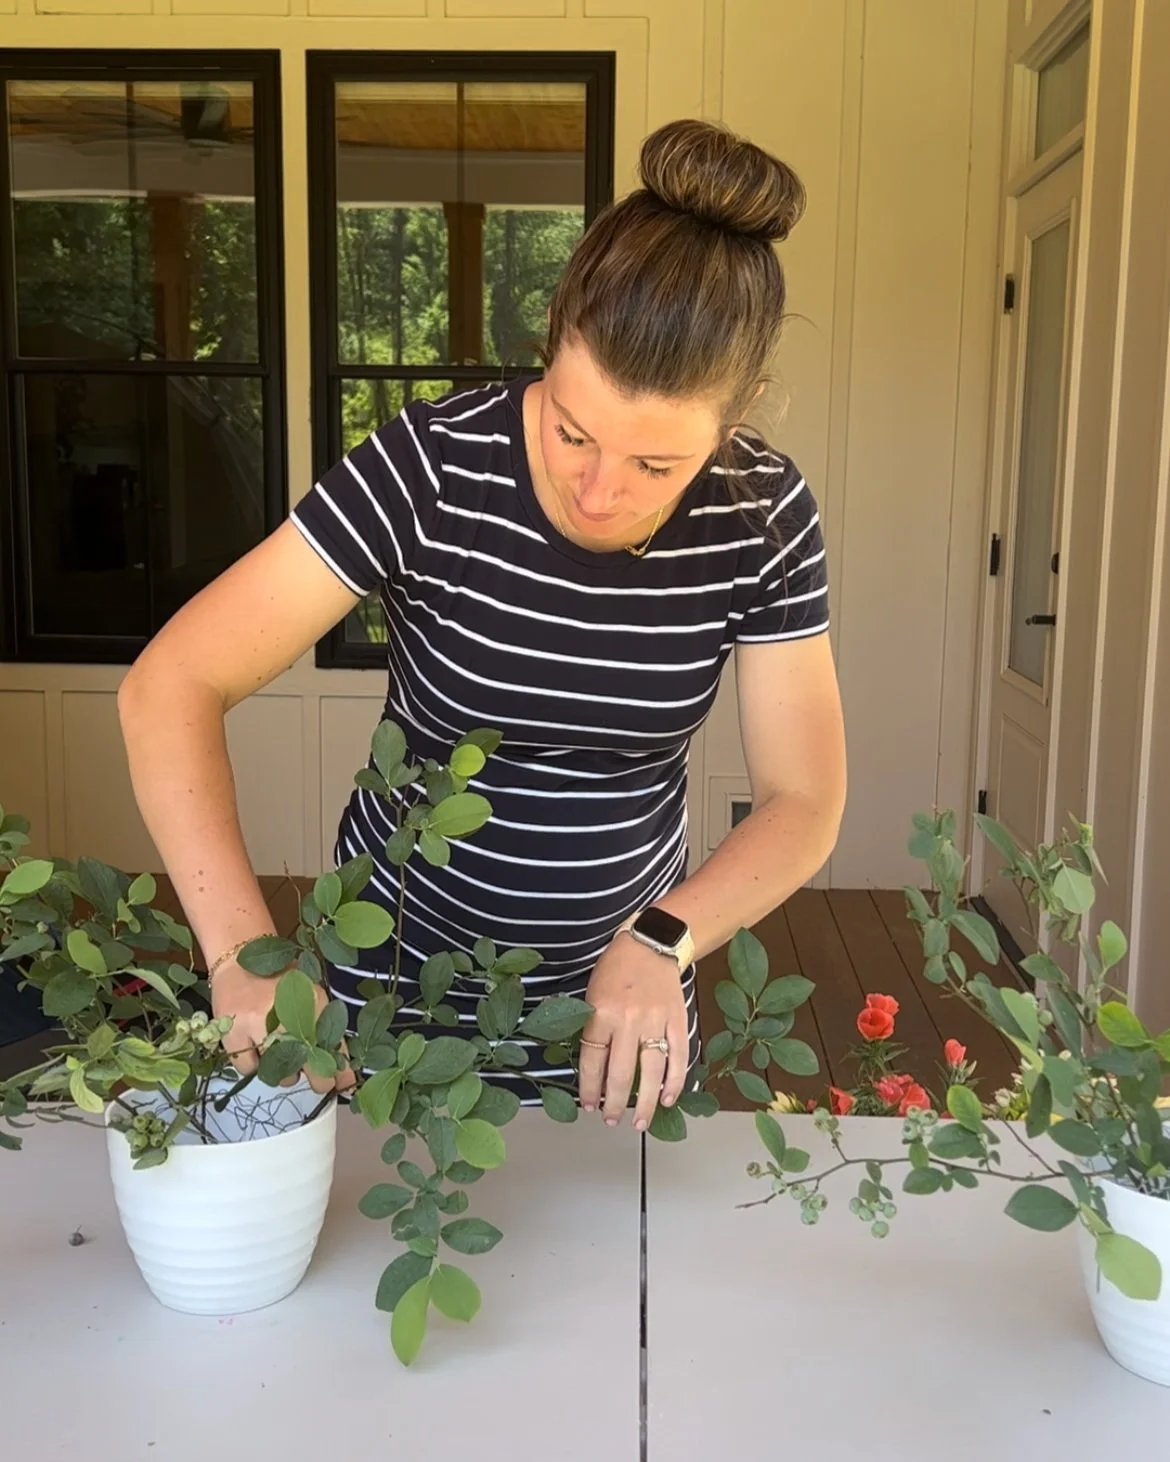
Step 1: Crunch up some chicken wire & place into vessel to anchor your flowers.

Ignore the fact that I look distressed—ha!
Step 2: Begin forming a triangle using 3 branches of greenery as a base.
Step 3: Begin layering in filler flowers next to and/or on top of greenery.

Step 4: Start adding in spike flowers to add dimension to your arrangement.
Again, working in 3’s and continuing that triangle shape. Try not to get too symmetrical.

Oh boy. I’m obviously concentrating too much enough to smile!
Step 5: Continue adding in filler flowers and disc flowers in that triangle shape until there are few “blank” spaces.

Step 6: Add in your focal flowers
I like to save the focal flowers towards the end, because I can make sure they are at the fore-front and center of attention.
Again, I start with three focal flowers, still working in that triangle shape, but sometimes I’ll add more.

Step 7: The finishing touch: Airy accents
Placing airy accent flowers last allows you to use dainty, fragile stems that “float” on top of the arrangement and add texture and interest to your design.

Airy accents feat. my grumpy face again!
All done!
Sometimes it helps to design on a lazy susan, so that you can rotate your arrnagement around and make sure it looks good on all sides.
As you notice blank or awkward spots simply fill those in with whichever flower will seem to fit well in that spot.
If you’ve got any tips or tricks to share, please comment below so we can learn from each other!
